
Written by:

Abdul Kareem
Check Email Sender Reputation: Tools and Tips to Improve It
How to Evaluate B2B Data Vendors for Accuracy and Compliance
Introduction
A campaign goes out with a clean subject line and a decent offer. It still lands in spam.
Nine times out of ten, that’s not the copy’s fault. It’s reputation.
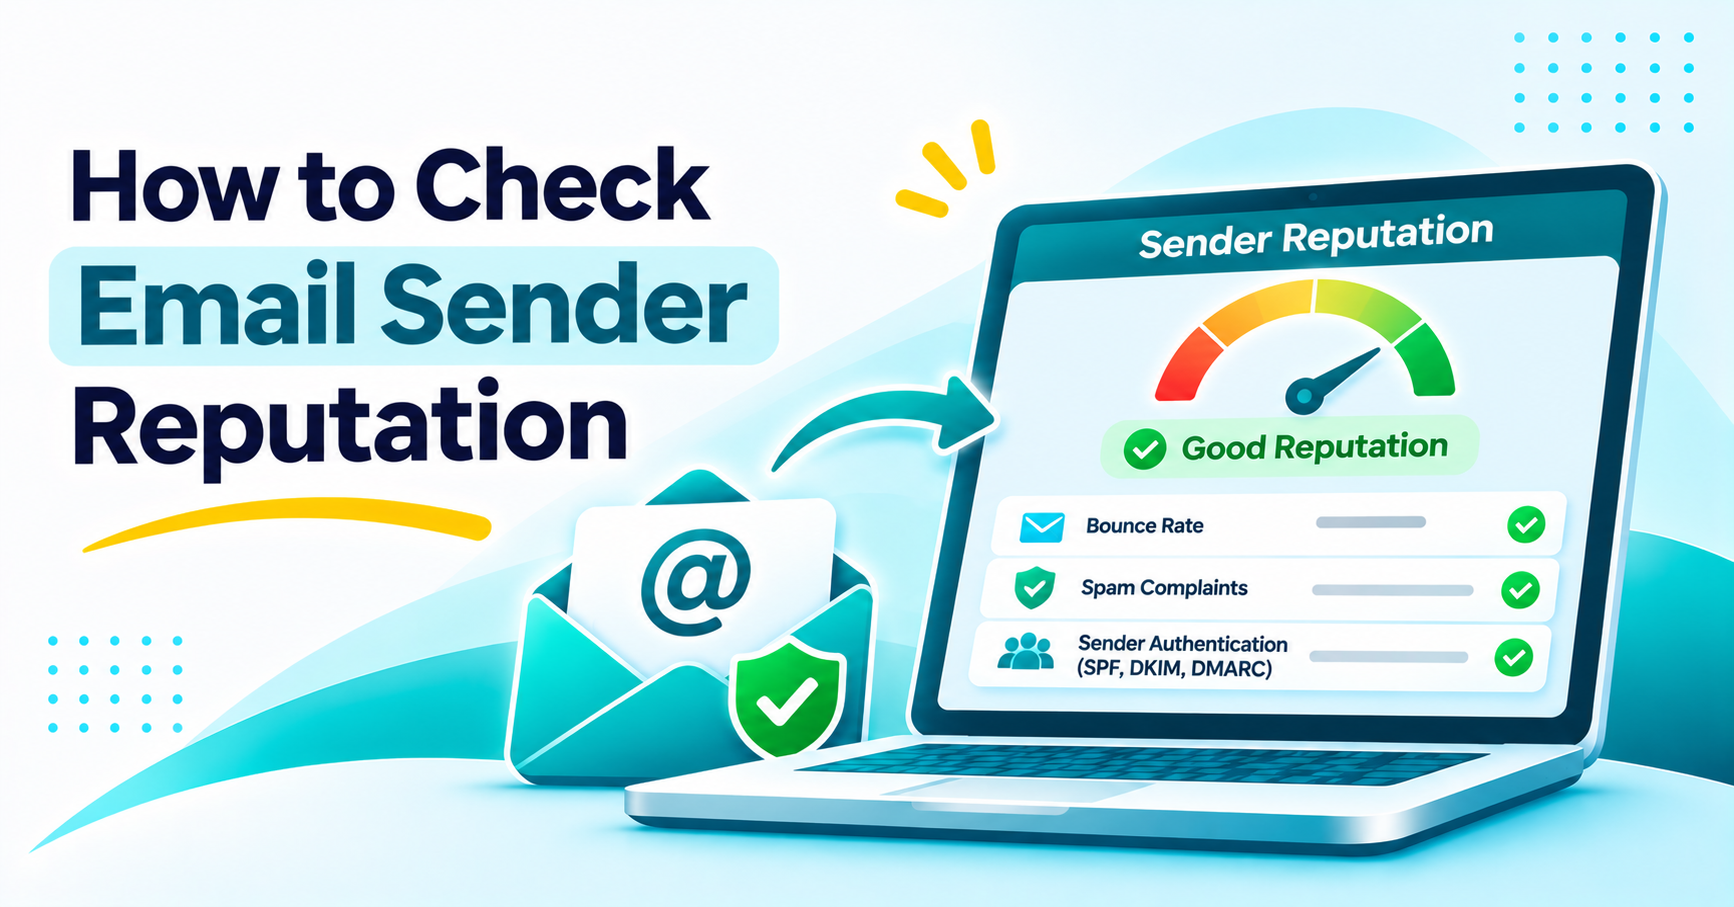
Learning how to check email sender reputation is the first step you can take. The score is usually sitting in plain sight, in free tools you’ve probably never opened.
This guide covers where you can check email sender reputation and what a good score looks like. It also covers what drags it down and the steps that bring yours back up.
What Sender Reputation Means and Why It Matters
Sender reputation is the score mailbox providers like Gmail and Outlook assign to a sending domain and IP address. That score decides whether a message reaches the inbox. It can also land in spam, or get rejected before the recipient ever sees it.
It’s not one static number. Providers track domain reputation and IP reputation separately, and the two don’t always agree. That split is exactly why email sender reputation takes more than one tool to see clearly.
A domain can look fine while an IP it shares with other senders is already in trouble. Or the other way around.
This shows up as inbox placement, not some general sense of “avoiding spam.” A dip in reputation means fewer opens. Messages quietly vanish. Campaigns that used to work go quiet for no obvious reason.
What Affects Sender Reputation
A handful of signals feed this score. Providers weigh all of them together, not just one.
Bounce rate matters most. A high rate of hard bounces tells a provider the list isn’t maintained.
Spam complaint rate is close behind. Even a small percentage of your recipients hitting “report spam” adds up fast across a large send.
Engagement counts too, meaning opens and clicks, or the lack of them.
Sending volume that jumps around unpredictably looks suspicious to a provider used to seeing steady patterns. List hygiene ties these together, since a dirty list drives up bounces and drags down engagement at the same time.
Authentication status rounds out the list: whether SPF, DKIM, and DMARC are set up correctly.
These inputs rarely cause damage from one dramatic event. It’s usually a slow buildup.
That’s exactly why it helps to check email sender reputation on a regular schedule. Run an ip reputation check and a domain-level check together, not just when something breaks.
How to Check Email Sender Reputation
There’s no single dashboard that shows everything. The right way to check email sender reputation is to run an email reputation check across a few different free tools. Each one sees a different slice of the picture.
Google Postmaster Tools
This is usually the first stop. Once a domain is verified, Google Postmaster Tools reports domain reputation, IP reputation, spam rate, and authentication status for mail sent to Gmail addresses.
Reputation shows here as a tier rather than a single number: High, Medium, Low, or Bad.
It’s one of the more complete free views available. It only covers Gmail-bound traffic though, so it’s not the whole story on its own.
Microsoft SNDS
Microsoft SNDS does the same job for Outlook and Hotmail addresses. It reports IP-level data: complaint rates, trap hits, and filtering status on Microsoft’s own network.
Running an ip reputation check through SNDS alongside the Google tool covers the two mailbox providers most B2B senders care about most.
Sender Score
Sender Score gives a single number from 0 to 100. It’s built from data across a wide range of participating mailbox providers, not just one.
It’s a useful snapshot, but one data point among several, not a verdict on its own. A domain can carry a strong result here while still struggling specifically with Gmail or Outlook delivery.
Check a list before your next send
Verifying addresses before a send catches invalid and risky contacts first. They never get the chance to bounce.
Email Blocklist Check
A domain or IP can land on a blocklist with otherwise solid sending habits. Often it’s a shared IP, a compromised account, or a spike that looked like spam behavior.
A quick check against the major lists takes a few minutes. It’s worth running whenever deliverability drops without an obvious cause.
Pull all four of these together instead of relying on just one. You’ll get a much clearer picture, fast. That combined view is what a proper email reputation check actually looks like in practice.
- Google’s own tool: Gmail-specific reputation and spam rate
- Microsoft SNDS: the same view for Outlook and Hotmail
- A cross-provider scoring tool: a single number from 0 to 100
- A blocklist lookup: whether a domain or IP has landed on a major list
Is Your Sender Reputation Score Good?
There isn’t one universal number. The tools don’t all measure the same scale.
On the 0 to 100 scale, scores in the 90s are generally strong. Anything consistently below roughly 70 to 80 usually signals a real problem. A solid score on that scale means providers see the sending pattern as trustworthy.
Google’s own tool uses tiers instead of a number: High and Medium generally mean healthy sending, while Low or Bad calls for immediate attention. Treat the two systems as complementary snapshots, not directly comparable scores.
What Causes a Sender Reputation Drop?
A drop like this rarely comes out of nowhere. A few patterns show up again and again.
A sudden bounce spike from a stale or purchased list is the most common one. A complaint spike after a poorly targeted send is a close second.
Ramping volume up too fast with no warm-up period also trips defenses built specifically to catch sudden changes.
Shared IPs add another wrinkle. If a domain sends from one, another sender behaving badly can drag the whole IP down. The affected domain did nothing wrong at all.
How to Improve Sender Reputation
Fixing your damaged reputation is rarely about one change. Learning how to improve sender reputation comes down to a handful of habits, applied consistently.
Authenticate with SPF, DKIM, and DMARC
SPF tells receiving servers which IPs can send on a domain’s behalf. DKIM adds a cryptographic signature proving a message wasn’t altered in transit.
DMARC ties the two together. It tells providers what to do with mail that fails either check. Missing or misconfigured authentication is one of the fastest ways to damage email domain reputation. It’s also one of the easiest fixes once it’s flagged.
Warm Up a New Domain or IP
A brand-new sending domain has no history yet. Providers watch it closely. Send too much volume too fast and it looks exactly like spam behavior, even when the content is fine.
If you’re planning to warm up new domain sending, start small. Send to the most engaged part of your list first, then increase volume steadily over several weeks rather than going straight to full volume.
Clean Your List with Email Verification
List hygiene affects nearly every input on this list at once. A list full of dead addresses drives up bounce rate directly. Bounces are one of the clearest signals providers use when judging a sender.
Verifying addresses before a send catches invalid and risky contacts first. They never get the chance to bounce. That’s one of the most direct ways to work on how to improve sender reputation outcomes on this whole list.
Make it a habit to check email sender reputation before and after any big sending change in your program, not just when deliverability drops.
How ReachStream Email Verifier Supports a Healthy Sender Reputation
Hard bounces are one of the clearest negative signals mailbox providers use. They’re also one of the most preventable. ReachStream Email Verifier checks addresses before a send. That helps keep this specific signal clean.
It runs SMTP-level verification without actually sending a message. Results come back as one of several statuses: Valid, Invalid, Catch-All, Risky, Risky-Valid, Invalid Domain, or Do Not Mail.
Teams can check a single address instantly, or upload a CSV of up to 25,000 addresses for bulk verification. Verification accuracy is rated at 99.8%.
None of this replaces good sending habits like steady volume and real engagement. What it does is remove one common, avoidable source of damage before a campaign goes out.
Explore ReachStream Email Verifier
Check a list before your next send.
Conclusion
Sender reputation isn’t one number from one tool. It’s a pattern across bounce rate, complaints, engagement, and authentication.
A handful of free tools make most of that pattern visible. You just need to know where to look to check email sender reputation in the first place.
Most damage to your sender reputation is reversible. Consistent list hygiene, proper authentication, and a sensible warm-up schedule for anything new tend to fix the underlying causes faster than chasing the score itself.
Explore ReachStream Email Verifier
See how verification fits into that cleanup.
FAQs
How do I check my email sender reputation?
Use Google’s own postmaster tool for domain and IP reputation on Gmail traffic. Use Microsoft SNDS for the same on Outlook and Hotmail. Add a cross-provider scoring tool for a single 0 to 100 view, and run a blocklist lookup too, since that’s a separate signal the other three don’t cover.
What is considered a good sender reputation score?
On the 0 to 100 scale, a score in the 90s is generally strong. Anything consistently under 70 to 80 usually points to a problem. Google’s tool uses High, Medium, Low, or Bad instead of a number, so check which system a given score comes from.
How often should I check my email domain reputation?
A monthly check is a reasonable baseline for most senders. Check more often right after a volume increase or a new domain or IP warm-up. The same goes for any unexplained drop in opens or replies. Those are the moments problems tend to surface first.
Can DMARC help improve email sender reputation?
Yes. DMARC tells receiving servers what to do with mail that fails SPF or DKIM, which removes ambiguity providers would otherwise factor against the sender. Proper DMARC setup, alongside SPF and DKIM, is one of the more reliable improvements available.
What causes a sudden drop in sender reputation?
The usual triggers are a bounce spike from a stale or purchased list, and a complaint spike after a poorly targeted send. A volume jump with no warm-up is another one. So is trouble on a shared IP caused by another sender using it.
Does using a shared IP affect my sender reputation?
It can. On a shared IP, another sender’s bad behavior can drag down everyone using that IP, even for a domain that followed every good practice itself. A dedicated IP removes that risk, at the cost of needing its own warm-up.
How long does it take to repair a bad sender reputation?
There’s no fixed timeline. Recovery depends on how severe the damage was and how consistently the causes get fixed. Mild dips from a single bad send can improve within a few weeks of cleanup and steady, low-volume sending. Blocklist entries or a sustained complaint problem usually take longer, since providers want to see a consistent pattern before they adjust a score back up.
Does email verification improve sender reputation?
It can help significantly. Verifying addresses before sending catches invalid and risky contacts that would otherwise bounce. Hard bounces are one of the clearest negative signals mailbox providers use when scoring a sender. Removing those addresses from a list before a send lowers the bounce rate directly. That’s one of the fastest, most measurable ways to move a damaged score back in the right direction.
Abdul Kareem
Author
Abdul Kareem

Abdul Kareem writes about B2B sales prospecting, email deliverability, and cold outreach for ReachStream, focusing on practical guidance that sales and marketing teams can put to use right away.
Share
Table of Contents
Check every address with up to 99.8% accuracy using SMTP-level checks that never send an email.
Keep Hard Bounces Off Your Record
Abdul Kareem writes about B2B sales prospecting, email deliverability, and cold outreach for ReachStream, focusing on practical guidance that sales and marketing teams can put to use right away.
Don't forget to share this post!















Check out our other blogs!
How to Check Email Sender Reputation
November 17, 2026

Email Bounce: What It Means (Hard Bounce vs Soft Bounce)
November 17, 2026
How to Personalize Cold Emails at Scale
November 16, 2026